
How to use the Image Upload feature?
The image upload mode allows your customer to place an image on the 3D model. To customize the " Image Upload" click the "Product Customizer"

And select (1) " Add New Question" and choose (2) Image Upload.

After selecting Image Upload, you can (1) Add a Description and (2) Set up the camera angle.

You can also choose the different available positions for the image in the Image Location part and just click edit.

Click on the 3D model to choose a location for the image. 
You can also (1) Rotate the image, and adjust the (2)Box scale such as Height, width, and thickness. You can drag the slider to increase or decrease the size of your Box. If you want to adjust all three dimensions at once, you can use the "Lock" option. When you click on "Lock", you'll see that the height, width, and thickness sliders are all linked together. This means that when you adjust one slider, the others will adjust automatically to maintain the same proportions.

It is also supported to (3) manually select the engravable component that is hiding behind others by enabling the button. 
Next, let's set up the Image Settings.
 In this part, you can: Set up a title for your image
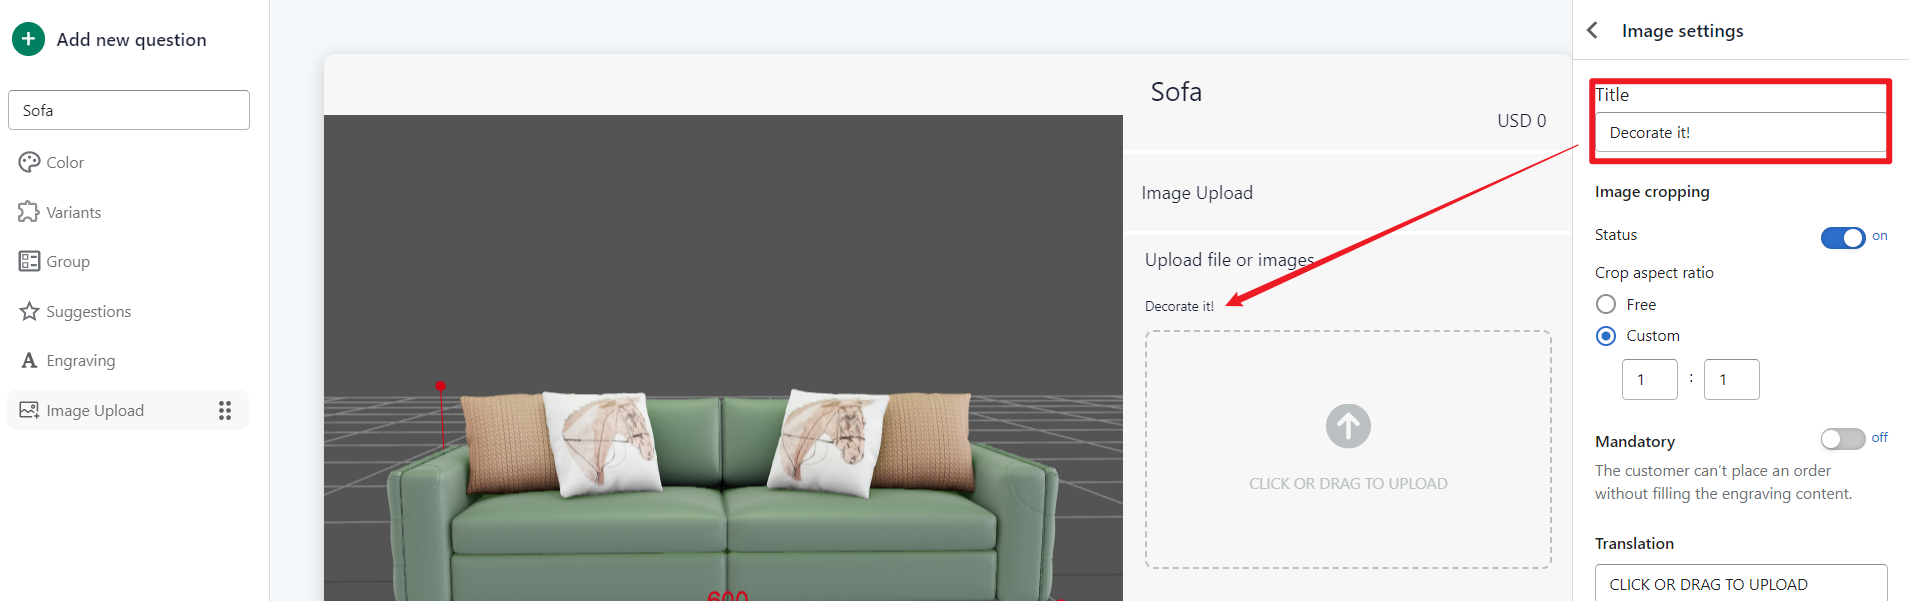
Set up the image ratio and you can turn on the " Mandatory" option, which prevents your customer from placing an order without providing the engraving content.
 And lastly, you will have the option to customize the translation.

Once you're done click save. Remember to always preview your changes before making them live on your store. This will allow you to see how the changes will look on your store, and make any necessary adjustments before publishing.
Feel free to chat with our support team if you have any questions.😊